Unlock Culinary Gold: How to Make Homemade Breadcrumbs (Fresh, Dried & Italian)
Transforming leftover bread into versatile, flavorful breadcrumbs is one of the easiest and most rewarding culinary hacks. Forget the bland, often additive-filled store-bought versions; learning how to make homemade breadcrumbs opens up a world of texture and taste that elevates countless dishes. Whether you need vibrant fresh breadcrumbs for a moist topping, crisp dried breadcrumbs for ultimate crunch, or aromatic Italian breadcrumbs to infuse Mediterranean flavor, this comprehensive guide will show you how to master them all in minutes.
Beyond the superior taste, making your own breadcrumbs is a fantastic way to minimize food waste, turning what might otherwise be discarded into a valuable ingredient. Plus, you gain complete control over the ingredients, making it simple to cater to dietary needs like gluten-free or whole wheat options.
Why Homemade Breadcrumbs Trump Store-Bought Every Time
At first glance, store-bought breadcrumbs might seem like a convenient, cheap option. However, their limitations quickly become apparent compared to the homemade alternative. Here’s why making your own is a game-changer:
- Unmatched Freshness and Flavor: Store-bought crumbs often sit on shelves for extended periods, losing their vibrancy. Homemade versions, especially fresh breadcrumbs, burst with the original flavor of your chosen bread, adding depth to any dish.
- Total Customization:
- Bread Choice: You pick the bread! From a rustic sourdough to wholesome whole wheat, a classic white loaf, or even gluten-free varieties, your choice dictates the base flavor and texture. This allows for specific dietary needs or flavor profiles.
- Texture Control: Want coarse crumbs for a crispy coating or fine crumbs for a delicate binder? Your food processor gives you ultimate control over the grind.
- Flavor Profiles: Beyond basic plain, you can effortlessly create seasoned versions like Italian breadcrumbs or experiment with other herb and spice blends.
- Waste Reduction: This is perhaps the most significant environmental benefit. Instead of tossing stale bread, you give it a delicious second life, contributing to a more sustainable kitchen. If you're passionate about minimizing waste and maximizing flavor, you'll love exploring the full benefits highlighted in our related article: Homemade vs. Store-Bought: The Flavorful Breadcrumb Difference.
- Healthier Options: Many commercial breadcrumbs contain hidden sugars, unhealthy fats, or artificial preservatives. Making them yourself means a clean label every time.
Choosing Your Canvas: The Best Bread for Homemade Breadcrumbs
The beauty of making homemade breadcrumbs is that most loaf-style breads will work wonderfully. Avoid extremely soft, enriched doughs like brioche for plain crumbs, as they can be too moist and sticky, though they can work if dried extensively.
- Sourdough, Whole Wheat, White Bread: These are excellent choices. Sourdough offers a tangy depth, whole wheat adds nutty notes and fiber, while white bread provides a neutral base.
- Baguettes and Cob Loaves: Their crusty exterior and denser crumb make for robust, textural breadcrumbs.
- Burger Buns/Rolls: While softer, they can still be used, often yielding a lighter, less dense crumb, especially if dried thoroughly.
- Gluten-Free Loaves: Absolutely! If you require gluten-free breadcrumbs, simply use your favorite gluten-free bread. The process remains the same.
Fresh vs. Stale Bread: What's the Difference?
Both fresh and stale bread can be used, each with its own advantages:
- Stale Bread: Often dried out and harder, stale bread is incredibly easy to process directly in a food processor, turning into crumbs almost instantly. It's the ultimate waste-reduction hero.
- Fresh Bread: While a bit trickier to process initially (it can clump more), fresh bread can yield more flavorful crumbs due to its moisture content. If using fresh bread for dried breadcrumbs, you'll simply need to dry the processed crumbs in the oven.
Ultimately, your choice depends on the desired texture, flavor, and how quickly you want to use the crumbs.
How to Make Homemade Breadcrumbs: A Step-by-Step Guide
Making breadcrumbs is surprisingly simple and requires minimal equipment. A good food processor is your best friend here.
1. Basic Preparation: Cubing Your Bread
Regardless of whether you're making fresh, dried, or Italian breadcrumbs, the first step is always the same:
- Remove any excessively thick or tough crusts if preferred, though most crusts are fine to include.
- Tear or cut your bread into roughly 1-inch (2.5 cm) cubes. Smaller pieces process more evenly.
Pro Tip: For optimal texture, avoid adding too much bread to your food processor at once. Process in batches if necessary to ensure even crumbling.
2. Making Fresh Breadcrumbs
Fresh breadcrumbs are soft, moist, and wonderfully flavorful. They're perfect for binding ingredients in meatballs or meatloaves, or for creating a tender, golden topping for casseroles.
- Process: Place your cubed bread into a food processor. Pulse in short bursts, scraping down the sides as needed, until the bread turns into fine or coarse crumbs, depending on your preference. This usually takes 30 seconds to 2 minutes.
- Use Immediately: These are ready to go! Use them in your recipe right away.
- Short-Term Storage: Store fresh breadcrumbs in an airtight container in the refrigerator for up to 3-4 days. For longer storage, freeze them for up to 3 months.
3. Making Dried Breadcrumbs
Dried breadcrumbs are crisp, light, and ideal for breading cutlets, frying, or creating a crunchy topping. They also have a significantly longer shelf life.
- Start Fresh: First, make fresh breadcrumbs using the method above.
- Spread Thinly: Spread the fresh breadcrumbs out in a single, thin layer on a large baking sheet. Use two sheets if necessary to avoid overcrowding, which can lead to uneven drying.
- Bake to Dry: Preheat your oven to 300°F (150°C). Bake the breadcrumbs for 10-15 minutes, stirring them halfway through to ensure even drying and prevent burning. They are ready when they feel completely dry to the touch and are lightly golden.
- Cool Completely: Remove from the oven and allow the breadcrumbs to cool completely on the baking sheet. They will continue to dry and crisp up as they cool.
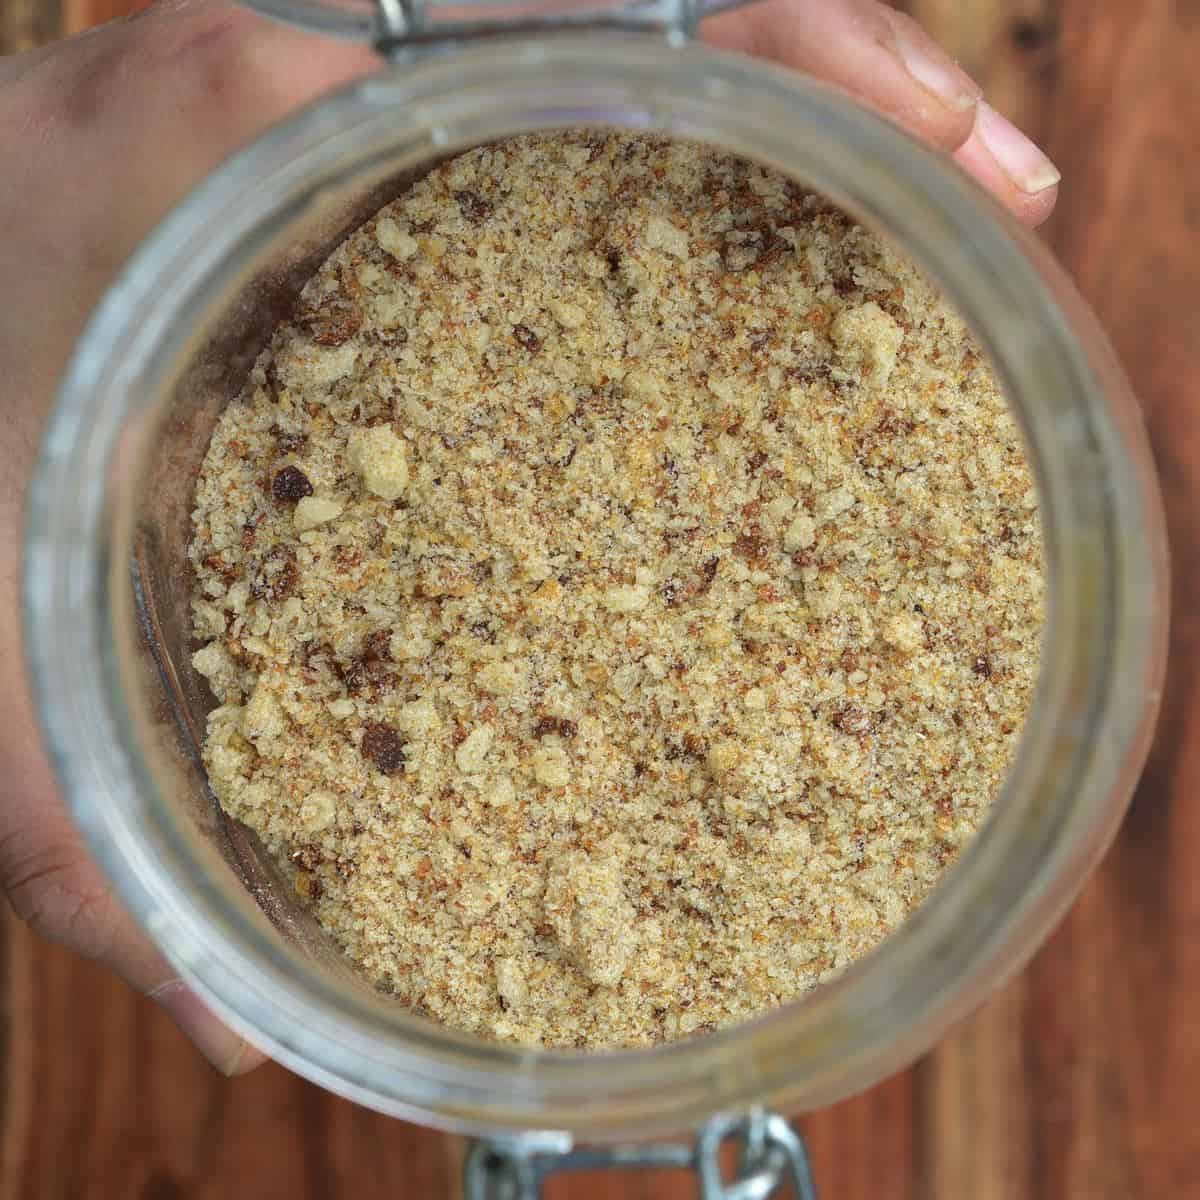
- Store: Once fully cooled, transfer your dried breadcrumbs to an airtight container. Store them in a cool, dry pantry for up to 2-3 weeks, or freeze for several months. For more tips on how to save your bread from going to waste, check out Never Waste Bread Again: Make Fresh & Dried Breadcrumbs Easily.
4. Making Italian Breadcrumbs (Seasoned)
Homemade Italian breadcrumbs are a flavor powerhouse, perfect for meatballs, breaded chicken, or as a savory topping for pasta bakes. You'll typically start with dried breadcrumbs for this, as the seasonings adhere better to dry crumbs and ensure a longer shelf life.
Ingredients for Classic Italian Breadcrumbs:
- 2 cups homemade dried breadcrumbs
- 1 tbsp dried oregano
- 1 tbsp dried basil
- 1 tsp garlic powder
- ½ tsp onion powder (optional)
- ½ tsp salt (or to taste)
- ¼ tsp black pepper (or to taste)
- Pinch of red pepper flakes (optional, for a slight kick)
- 2 tbsp finely chopped fresh parsley (add after toasting, if desired)
- 2 tbsp grated Parmesan cheese (optional, add after toasting)
Method:
- Combine Dry Ingredients: In a medium bowl, combine your homemade dried breadcrumbs with oregano, basil, garlic powder, onion powder (if using), salt, pepper, and red pepper flakes (if using). Stir well to ensure all the seasonings are evenly distributed.
- Optional Toasted Seasonings: For an even more aromatic result, you can gently toast the breadcrumbs and dry seasonings in a dry skillet over medium-low heat for 2-3 minutes, stirring constantly, until fragrant. Let cool completely.
- Add Fresh & Cheese (Optional): Once cooled (if you toasted them), stir in the fresh parsley and grated Parmesan cheese (if using). The fresh parsley adds a vibrant color and fresh herbaceous note, while Parmesan offers a salty, umami depth.
- Store: Transfer your Italian breadcrumbs to an airtight container. Store in a cool, dry pantry for up to 2-3 weeks, or in the refrigerator for up to 1 month (especially if adding Parmesan or fresh herbs). For longer storage, freeze for several months.
Tips for Perfect Homemade Breadcrumbs Every Time
- Don't Overload the Food Processor: Process in batches to ensure even crumbling and to avoid straining your appliance.
- Control the Texture: Short pulses yield coarser crumbs, while longer processing creates finer crumbs. Stop when you achieve your desired consistency.
- Cool Completely Before Storing: This is crucial for dried breadcrumbs and any seasoned varieties. Storing warm crumbs can trap moisture and lead to spoilage.
- Experiment with Seasonings: Don't stop at Italian! Consider other flavor combinations like smoky paprika and chili powder, rosemary and thyme, or a blend of Indian spices for specific dishes.
- Utilize Leftovers: Any bread that's past its prime but not moldy is a candidate for breadcrumbs. This includes leftover hot dog buns, stale croissants (for a richer crumb), or even cornbread.
Unleash Your Homemade Breadcrumbs in the Kitchen
Once you have a stash of homemade breadcrumbs, your culinary possibilities are endless. Use them to:
- Bind: The secret ingredient in perfectly moist meatballs, meatloaves, and veggie burgers.
- Coat: Create an irresistible crisp crust on chicken cutlets, fish fillets, schnitzel, or even vegetables like zucchini fries. Both fresh breadcrumbs and dried breadcrumbs excel here, with fresh offering a softer chew and dried providing a distinct crunch.
- Top: Sprinkle over casseroles, mac and cheese, baked pasta dishes, or roasted vegetables for a delightful textural contrast.
- Thicken: A spoonful can add body to soups and stews.
- Fill: Essential for flavorful stuffings for poultry or vegetables.
Conclusion
Making homemade breadcrumbs fresh dried and italian breadcrumbs is a simple, eco-friendly, and incredibly flavorful way to enhance your cooking. By taking a few minutes to transform stale bread, you not only reduce waste but also gain a superior, customizable ingredient that store-bought versions simply can't match. Experiment with different bread types, play with seasonings, and discover the joy of always having fresh, delicious breadcrumbs at your fingertips. Your palate – and your pantry – will thank you!
